Collaborate with others using IntelliJ’s Git integration
Setting up IntelliJ IDEA when starting it for the first time.
This is part of the step-by-step series to set up a technical writing environment with IntelliJ and the AsciiDoc plugin. See the page Setup for technical writing for an overview of all steps.
Prerequisites
This assumes that IntelliJ IDEA is already installed on the PC and is started and that the reader is familiar with editing content in IntelliJ. See Installing IntelliJ for technical writing and Editing an AsciiDoc file in IntelliJ on how to do this.
In order for the Git functionality in IntelliJ to work, the user needs to install a Git client.
Accessing Git from the IntelliJ GUI
This paragraph assumes that the user wants to use IntelliJ’s integrated Git functionality. To use the Git command line, choose the “Terminal” toolbox tab in IntelliJ to interact with the command line instead of following these steps.
The following example assumes that:
-
The project is a checked-out remote repository.
-
The local repository has a remote
upstreamwith points to the main repository where people collaborate around a branchmain. -
The local repository has a remote
originwith points to a clone of the main repository where the user wants to create a branch from where they want to create a pull request later. -
The currently checked-out branch in the local repository is
mainand points to the remoteorigin.
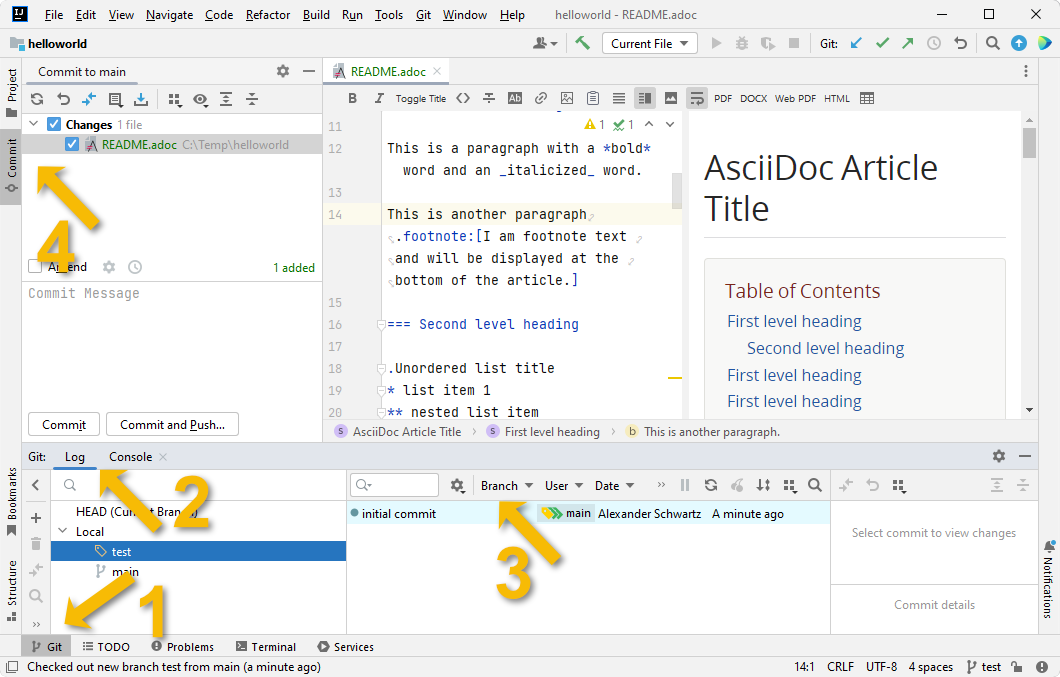
Overview of the controls and tool windows
-
Git tool window, click on “Git” to show and hide the window.
-
With the “Log” tab active, it shows local and (if available) remote branches, plus the commits in the repository.
-
In the Branch dropdown, select HEAD to show only the commits of the current branch.
-
The “Commit” tool window shows all local changes that can then be committed. Open it by click on the tool window or use the shortcut Alt+0 ⌘ 0. Explore the different actions in the toolbar by hovering with the mouse over the different icons.
Double-click on a highlighted file or press Ctrl+D ⌘ D to show the difference side-by-side. See the IntelliJ documentation on how to Compare file and folder versions.
Resolving merge conflicts
There’s a chapter how to resolve merge conflicts with Git in the IntelliJ docs called Resolve conflicts in Distributed Version Control Systems.
When a merge conflict occurs, it is usually good to start with Apply non-conflicting changes first, either with the All option or the magic wand icon  .
.
For a walk-though of handling a conflict with Git, watch the 5:34 min video at the end of the IntelliJ manual page resolving conflicts.
Learning more about Git functionality
-
See the topic on Git and its subchapters in the IntelliJ documentation
-
Use and choose the next final section “Git” to start the tutorial covering Git.
Further reading
Continue to Preparing a repository for collaboration for the next step of this series.