Starting IntelliJ for the first time
Setting up IntelliJ IDEA when starting it for the first time.
This is part of the step-by-step series to set up a technical writing environment with IntelliJ and the AsciiDoc plugin. See the page Setup for technical writing for an overview of all steps.
Prerequisites
This assumes that IntelliJ IDEA is already installed on the PC. See Installing IntelliJ for technical writing on how to do this.
First setup steps of the IDE
When starting the IDE for the first time, this is the start screen:
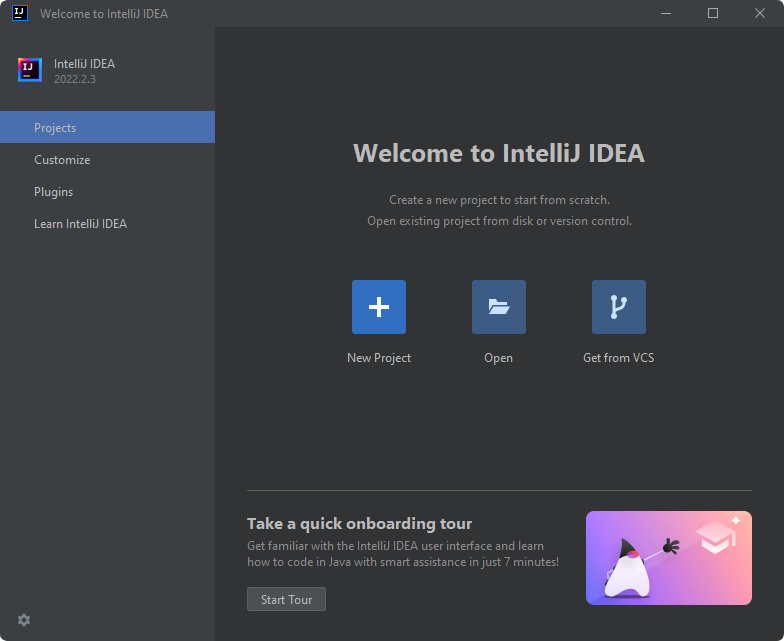
This screen allows technical writers to
-
Opening a new or existing project
-
Customizing the IDE
-
Installing Plugins
-
Start a tutorial to learn IntelliJ IDEA
Users find a short introduction video in the online help for IntelliJ IDEA in chapter Run IntelliJ IDEA for the first time.
Once the user opened their first project, IntelliJ IDEA will skip this screen and load the previous project. Users can return to this screen by choosing the menu item until no project is open. Then this screen appears again.
Use the following sections to configure the IDE before opening the first project.
Installing Plugins
This dialog allows installing plugins from the JetBrains marketplace. To install the AsciiDoc plugin, choose the tab Marketplace, type AsciiDoc in the search field, and choose the AsciiDoc plugin. Press the button Install to install the plugin.
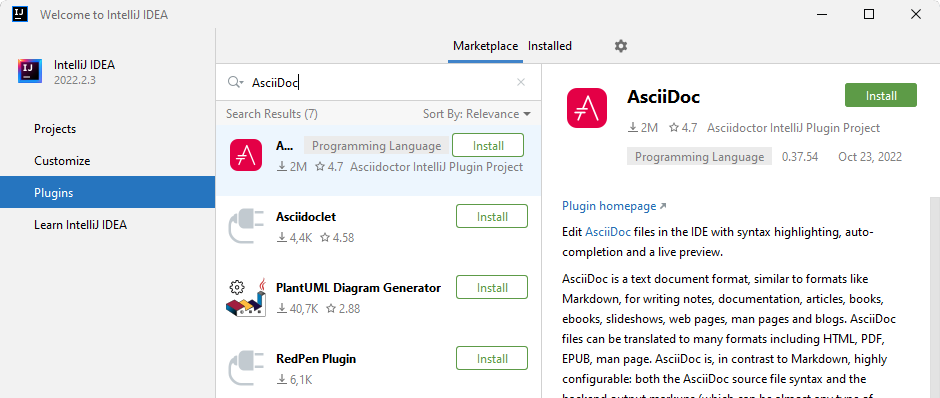
If a user wants to install, uninstall or disable plugins later, they can do this via the IDE’s settings.
Optional: Customize the IDE
The customizing screen allows users to choose the color theme. While dark mode (“Darcula”) is the default, users can choose a light or high contrast mode.
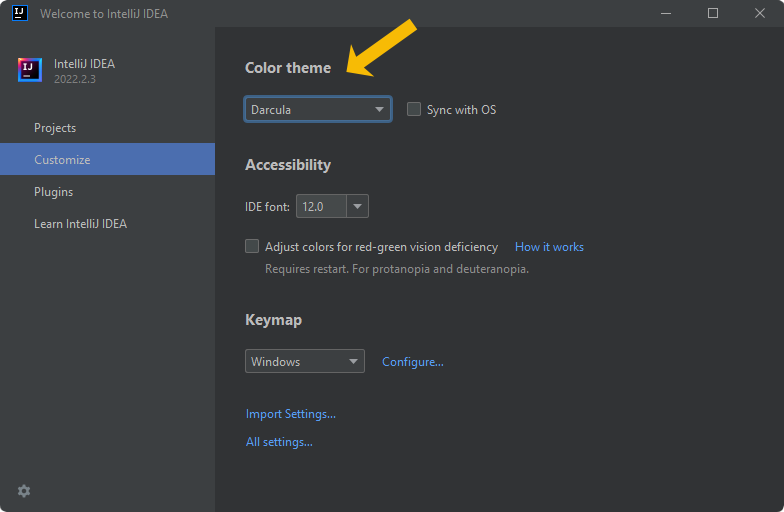
All future dialogs in this guide use the IntelliJ light theme.
If a user wants to change this later, this can be changed in the IDE’s settings.
Optional: Start a tutorial to learn IntelliJ IDEA
The button Start Learning starts a tutorial that explains the IDEs features.
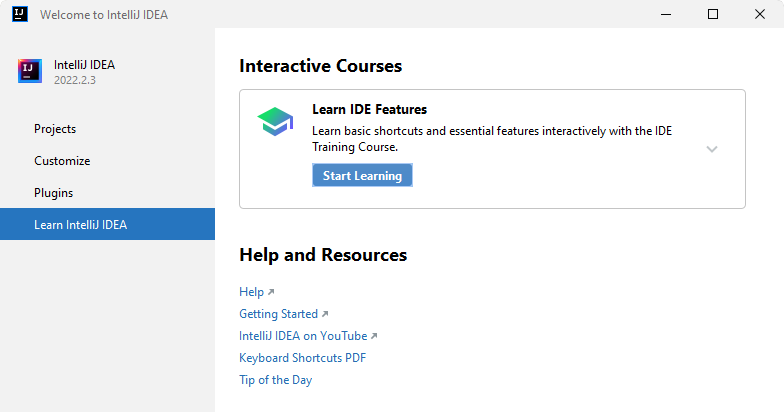
Most chapters of the tutorial use Java code to explain how the editor, auto-completion and refactoring works. While the tutorial is about Java, most keyboard shortcuts and functionality will work similarly for AsciiDoc due to the installed AsciiDoc plugin.
The last chapter that explains Git is based on a YAML file and could be helpful to technical writers not yet familiar with Git.
Further reading
Continue to Opening a project in IntelliJ IDEA for the next step of this series.